In this blog, we are going to know how to install Kali Linux on VMware, but you can follow the same steps for other Operating systems as well. Kali Linux or any other Operating system can be installed on any Operating system using VMware or virtual box software. Vmware or virtual box creates a virtual environment for an OS which allows it to share Hardware resources like hard disk, memory with main Operating system without interrupting other processes.
The complete step-by-step process of installing Kali Linux on VMware/Virtual Box is shown below:
Step 1: Download Kali Linux ISO file
Before starting the installation process you have to download Kali Linux ISO image from the official website of Kali Linux
http://www.kali.org/downloads
There are different versions available for Kali Linux like 64bit, 32bit, light, mate etc… don’t get confused and download ISO which is appropriate/compatible for your system.
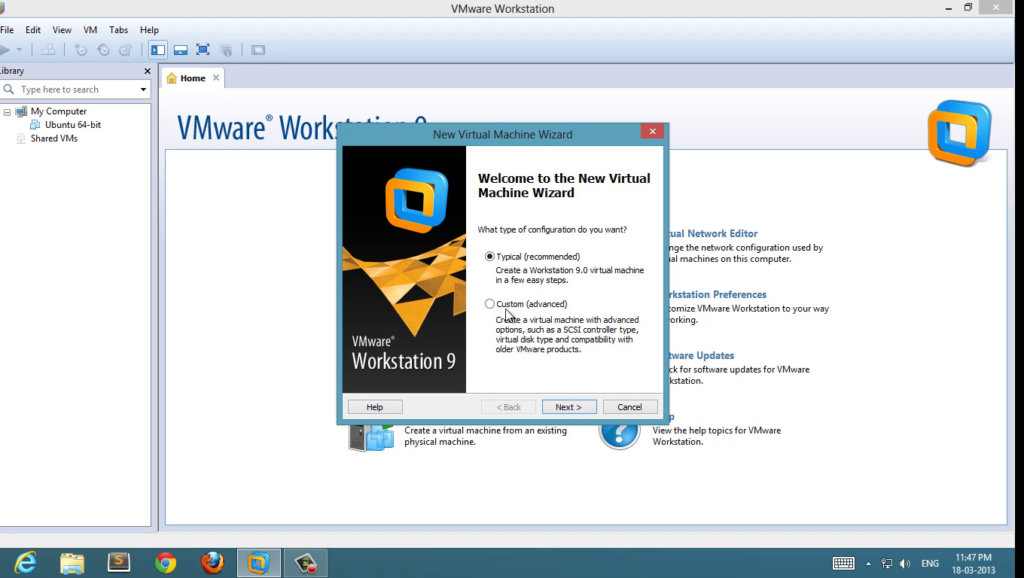
Step 2: Open VMware and click on create new virtual machine
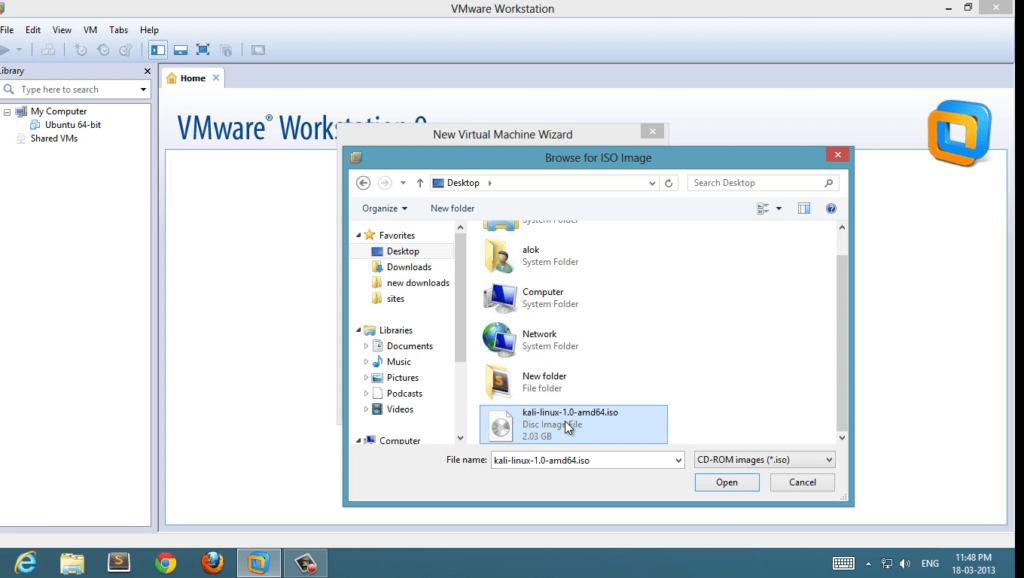
Step 3: Select ISO file
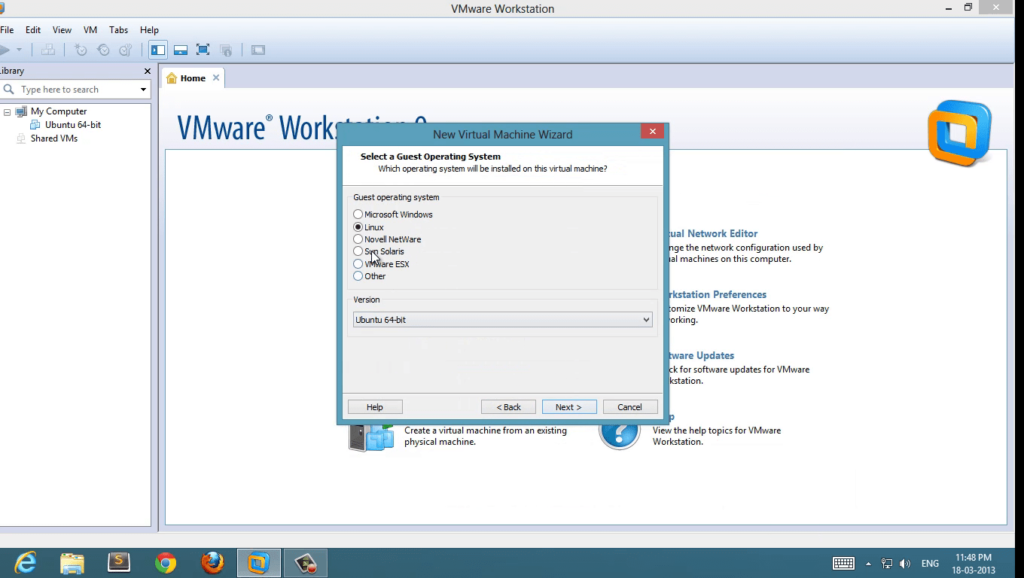
Step 4: Select Operating System
Select the OS which you want to install on your Vmware virtual machine.
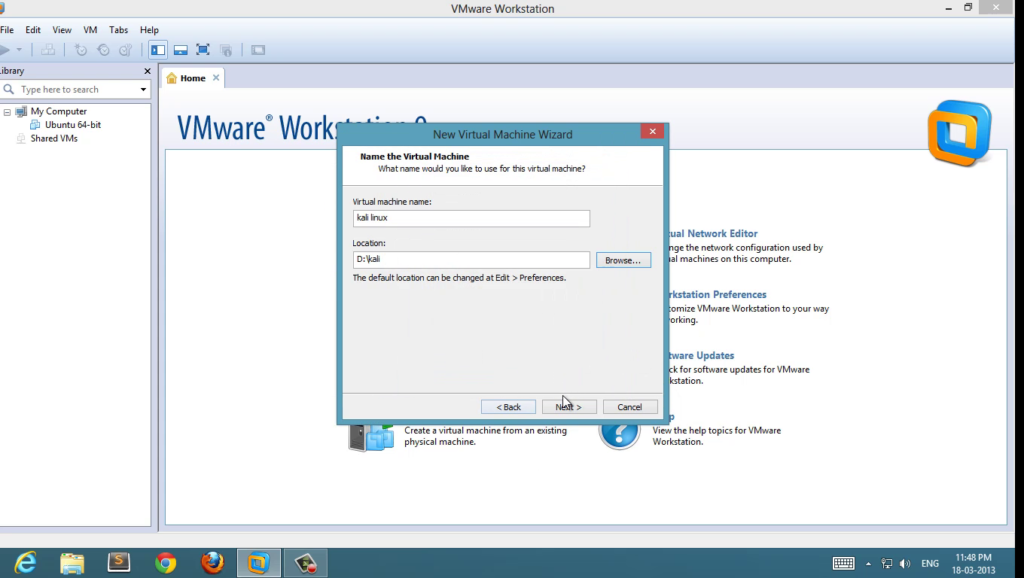
Step 5: Set name and location
Set name and location of the virtual machine. You can choose any name for your virtual machine there is no restrictions on selecting name for virtual machine.
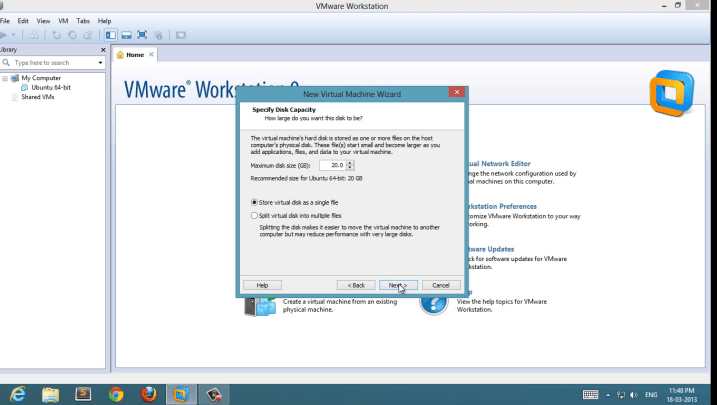
Step 6: Set Disk Space
Recommended disk space for Linux operating system is 10-12 GB and for windows is 25-30 GB. It may vary for different Operating systems. Along with disk space, you can also manage RAM, number of processor and different hardware configurations for your virtual machine. Sometimes it is difficult to choose appropriate RAM size and other hardware components while installation if you are doing it the first time. So don’t worry you can also change these settings anytime after installation.
Step 7: Review Hardware Configuration and Start Installation
After reviewing the hardware configuration, start the installation process by selecting graphical Install. Enter details asked like time zone, language etc…

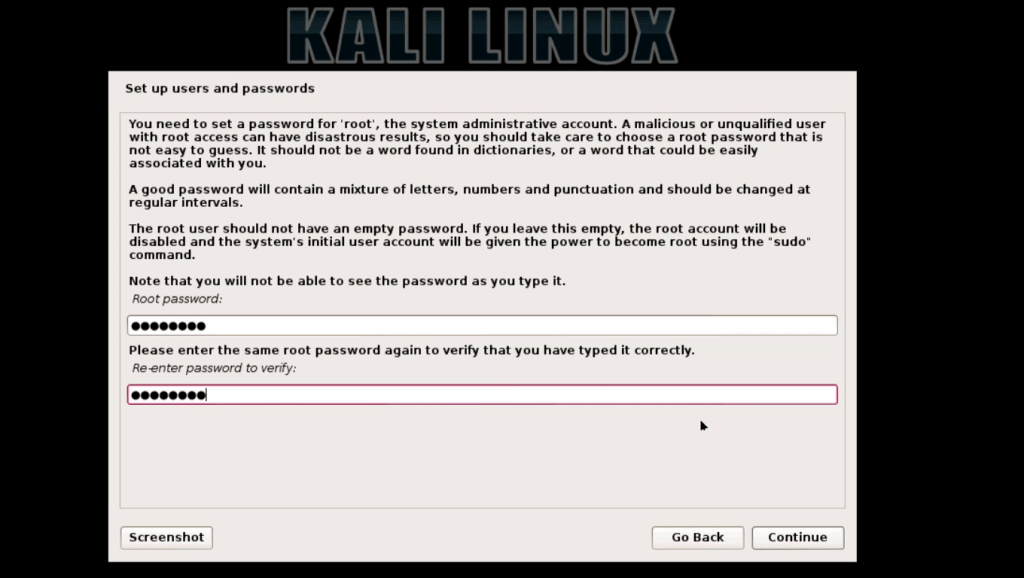
Step 8: Select Root Password
Enter the root password and don’t forget it as it will be used for login to your virtual machine instance.
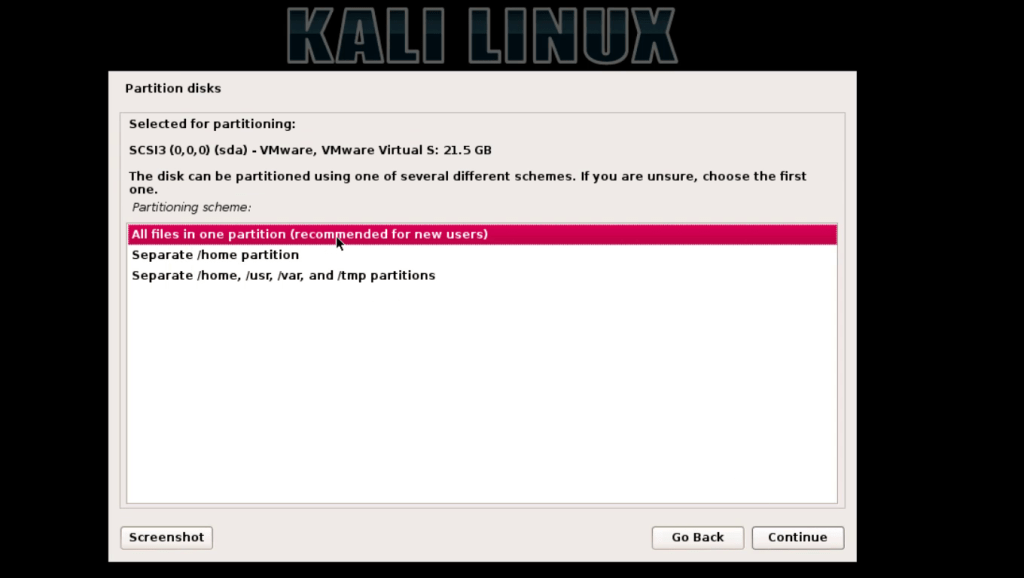
Step 9: Select Partition(Recommended to select single partition)
Select Partition for the Operating System
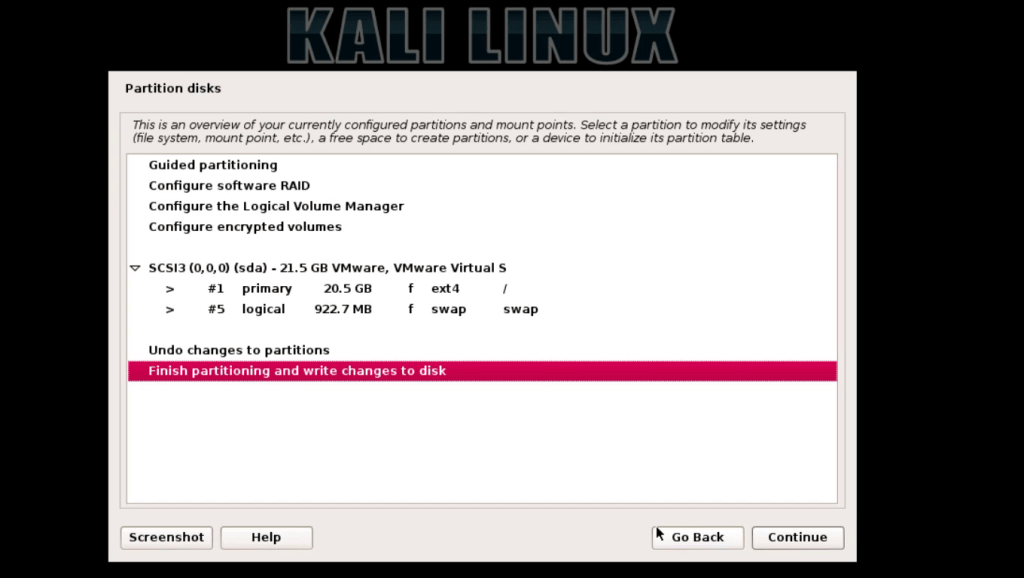
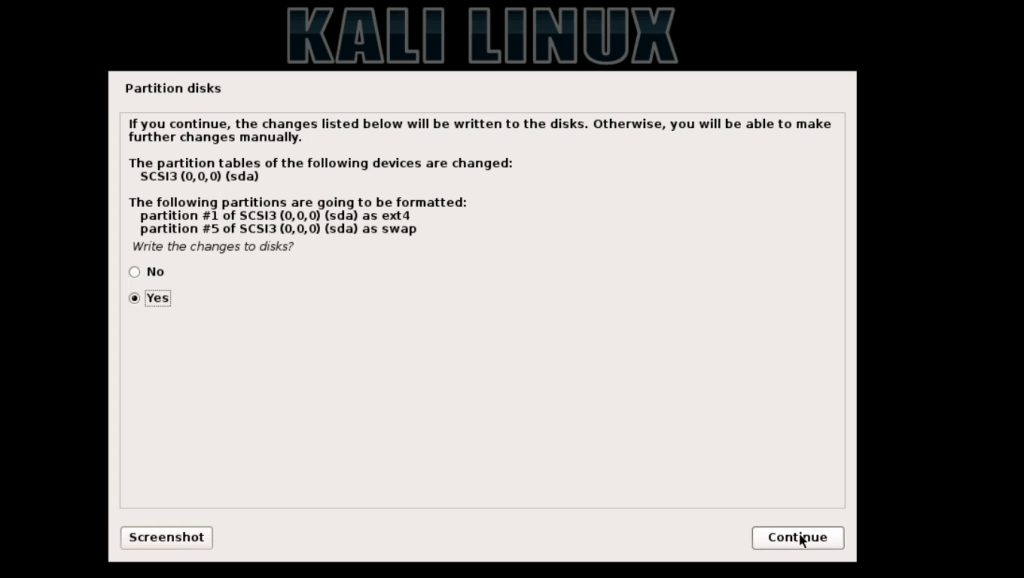
Step 10: Click on Finish Partitioning and click on yes to write
Step 11: Wait till Installation Completes
Installation process takes about 15 minutes.
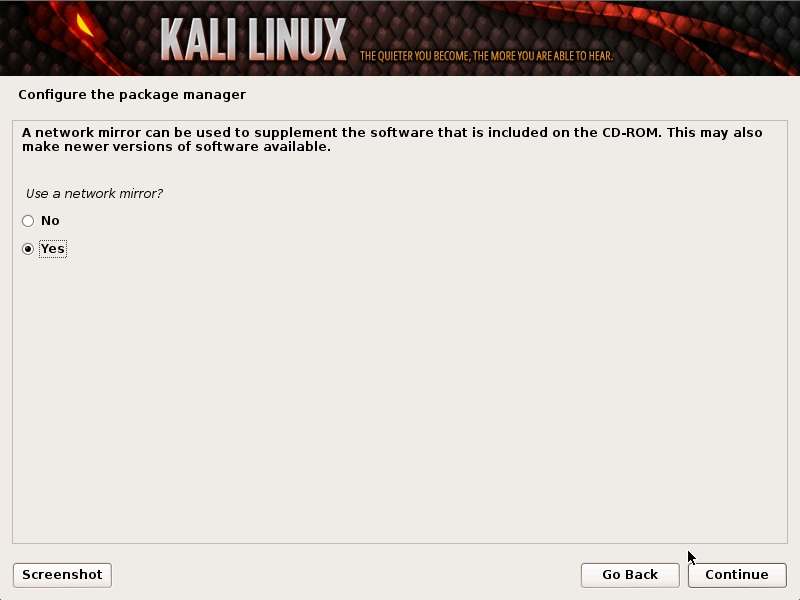
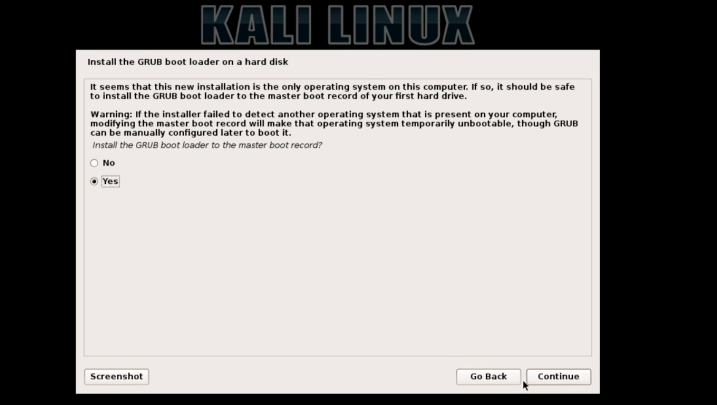
Step 12: Set Network Mirror And Boot loader
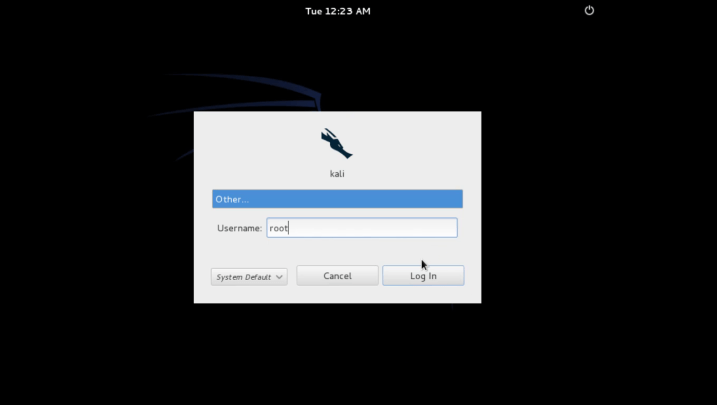
Step 13: Now Login With Username(root) and Password(same as in step 8)
Do follow the above steps to install Kali Linux to your Operating system. In case, you found any difficulties then do repeat the steps and try to re-install the setup.


I would like to thnkx for the efforts you’ve put in writing this website. I’m hoping the same high-grade website post from you in the upcoming as well. Actually your creative writing abilities has encouraged me to get my own web site now. Really the blogging is spreading its wings quickly. Your write up is a great example of it.